If you’ve never used contact lenses before, or you’re new to contact lenses, it’s more than understandable to have reservations about having to put small pieces or breathable plastic into your eyes every day. The idea of getting your finger so close to your eyeball can be quiet daunting for some people.
Thankfully, with a little practice and education, inserting and removing contact lenses can and will become a breeze, though not something that should ever be rushed or taken for granted.
One of the first hurdles you may face when new to contact lenses is a near constant sense of awareness or having something in your eye for a period after you start using contact lenses. This does not mean you are doing something wrong or have inserted your contact lenses incorrectly, rather it’s an inevitable side effect of deliberately having something in your eye for the first time.
Your eyes will acclimate to the presence of the lenses quickly. If you’ve been a spectacle wearer, think of the acclimation period being similar to when you first started wearing your spectacles. You were likely and constantly, acutely aware of pressure on the bridge of your nose and top of your ears, and you were most likely very conscious of seeing the frames in our peripheral vision. That feeling went away quickly, and the initial awareness of wearing contact lenses will too.
Soft Lenses - The Basics
Properly inserting contact lenses:
Step 1 : Wash and thoroughly dry your hands on a clean, lint-free towel.
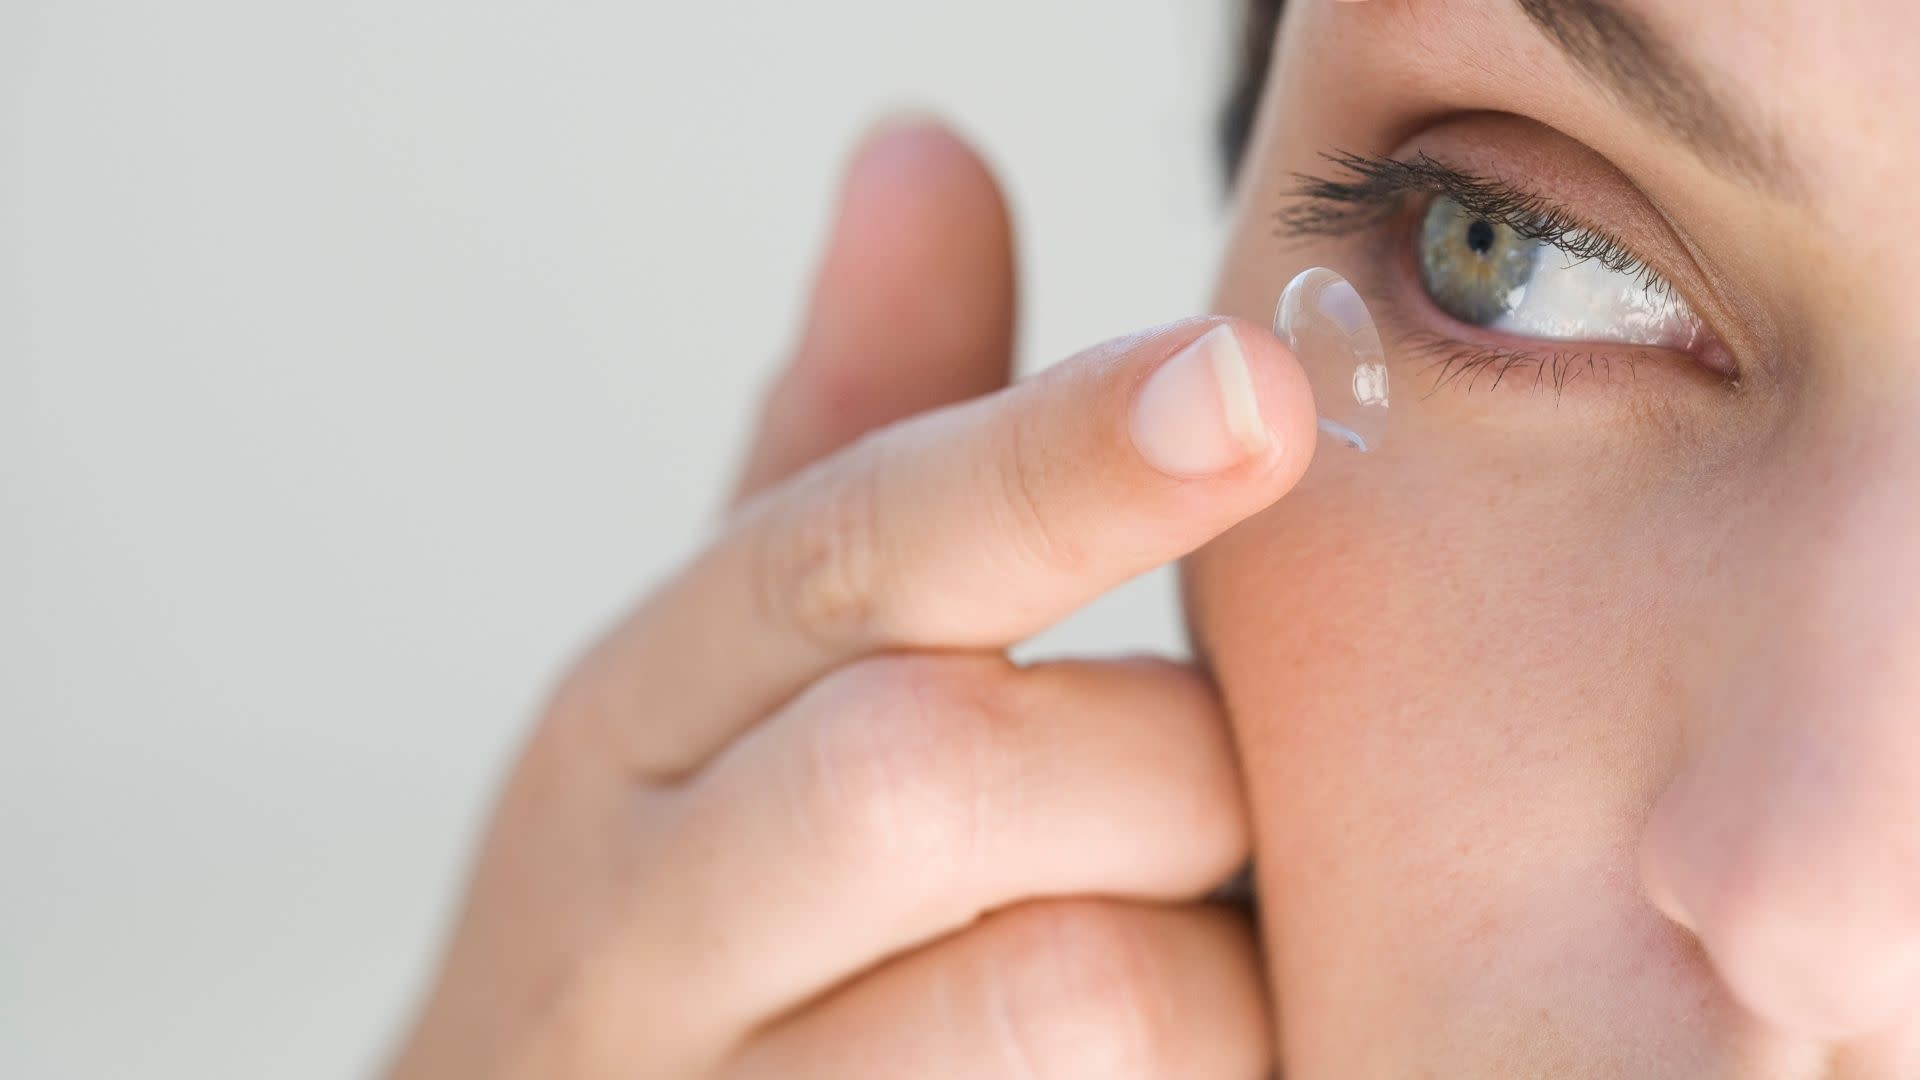
Step 2 : Remove the first lens from its case or blister (if using daily disposables) and place it on your index finger. Ensure the contact has the concave (bowel shaped) side facing up.
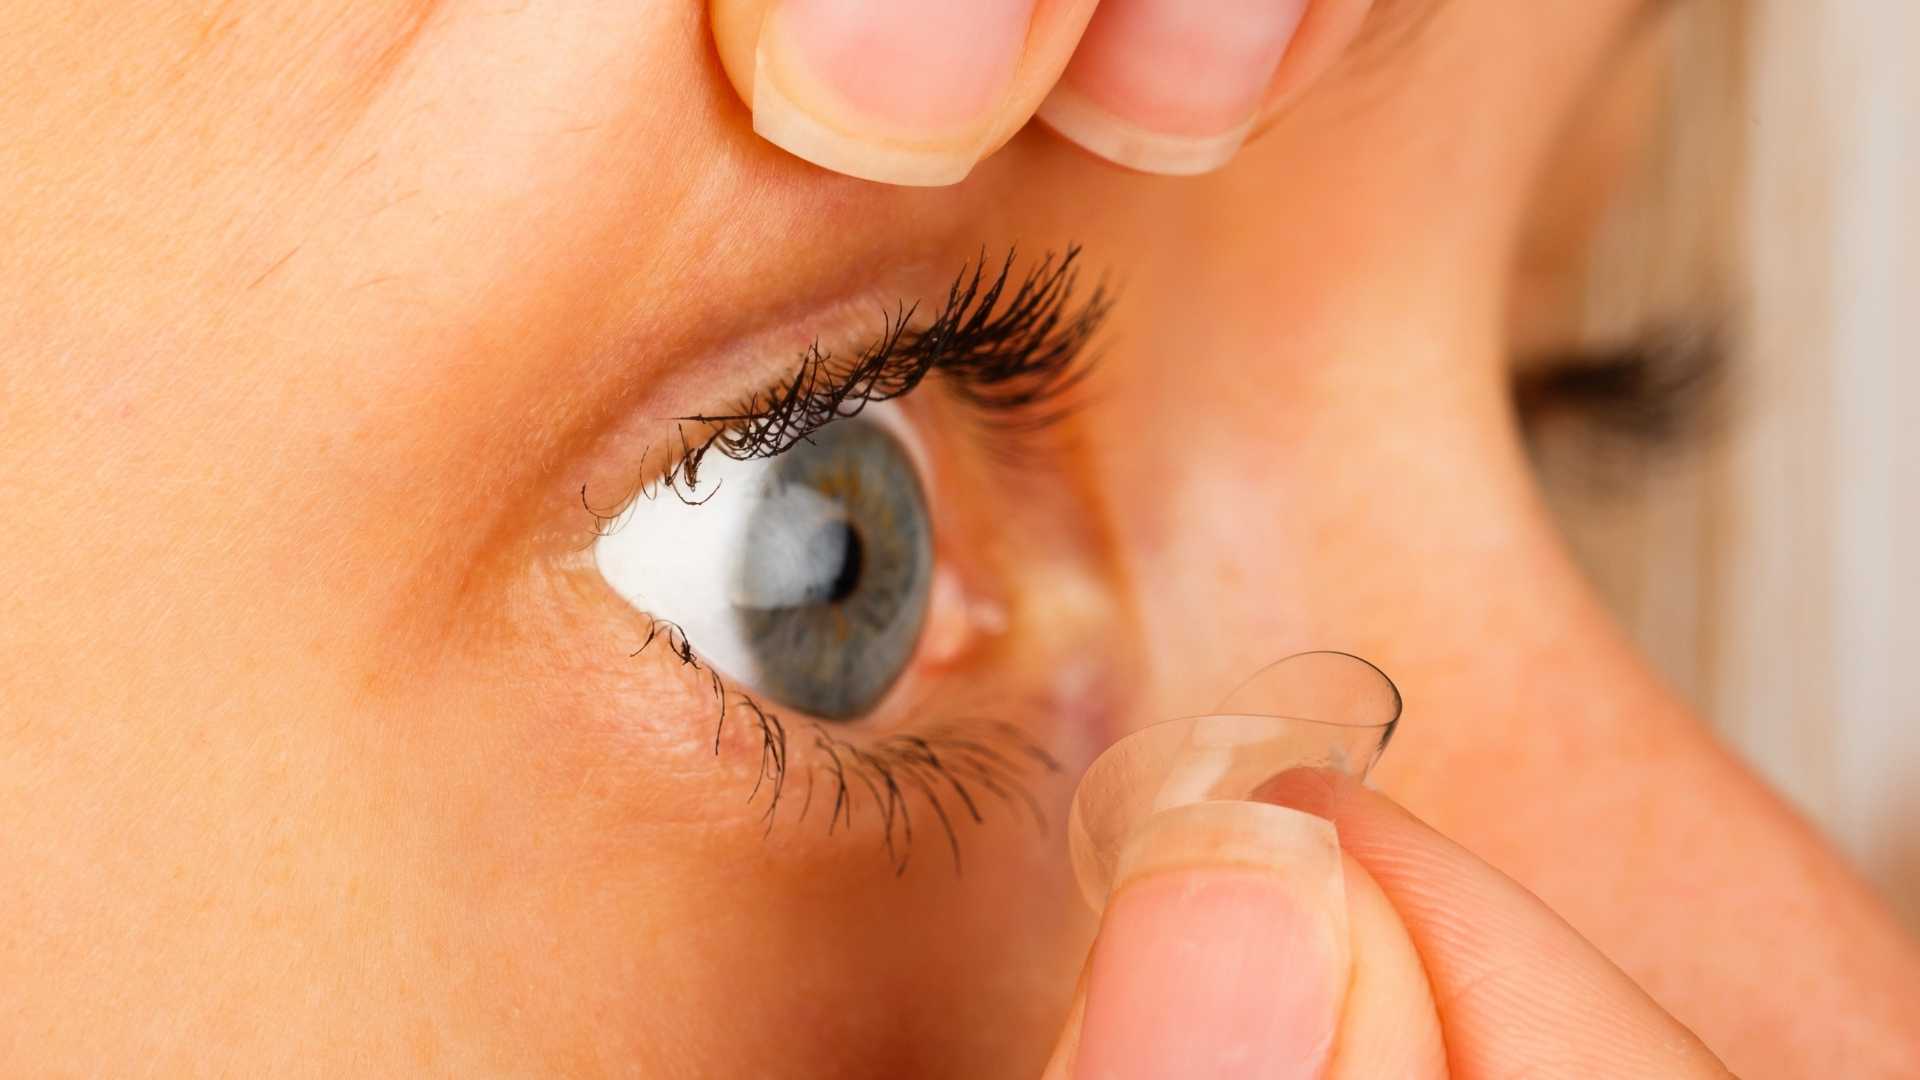
Step 3 : Use the hand not holding the lens to lift the top eyelid of the eye you wish to insert a lens into. Use the middle finger on your dominant and to gently pull the bottom eyelid down giving you better access to the eye.
Step 4 : Look up and gently place the contact lens on the sclera (the white part of the eye). Hold the lens in place for around a second to allow the contact lens to adhere to the front of the eye via the tear layer.
Step 5 : Gently remove your lower hand and finger from your eye. Now after a second or two, release your top eyelid and blink your eye to ensure the lens sits centrally.
Step 6 : Repeat steps 2-5 for the other eye.
Step 7 : If you are using lenses that must be stored between uses (essentially all lenses bar daily disposables), empty the case of any leftover contact lens solution and allow the case to air dry upside down. (Making sure the case is not open to the atmosphere).
Lens insertion tips and tricks:
- Always insert and remove your lenses in the same order, such as right lens first, then left lens. As is the case with spectacles, most eyes have different prescriptions, so the lenses are not interchangeable. Sticking to a routine of which lens is inserted and removed first will make it much easier to keep track of which lens is which when it comes to storage and the next insertion.
- If you find yourself struggling with the insertion and removal process please organise a review with your optometrist. A review of your handling technique is essential to make sure you are not damaging your eyes or your contact lenses.
- If you’re having trouble with the lens folding or not situating on your cornea properly, you may be blinking too forcefully or too quickly after the lens is inserted, not giving it enough time to adhere to the cornea. Try keeping your eye open a little longer before you blink the lens fully into place. The contact lens could be inside out, which does make the insertion process more difficult.
- If you find yourself having trouble getting the lens into your eye in the first place because you keep blinking when your finger nears your eye, you can try desensitising yourself to the process by moving a clean finger towards your eye a few times a few times before you attempt to insert your lens. Doing so may help you get used to the motion and idea of placing something on your eye.
Properly removing contact lenses:

Step 1 : If you are using lenses that must be stored overnight have your clean case ready for the lenses to be placed inside once removed from the eye.
Step 2 : Wash and thoroughly dry your hands on a clean, lint-free towel
Step 3 : Pull up on the top eyelid using your non-dominant hand and look up
Step 4 : Place the index finger of your dominant hand gently on the contact lens and slide it off the cornea down to the sclera (the white part of the eye)
Step 5 : Using thumb and forefinger, gently pinch the lens off the sclera. Be sure not to pinch too hard - just enough to break any suction between the lens and eye
Step 6 : Place lens carefully into the prepared lens case and now place the disinfecting solution on to the lenses, making sure the lenses are covered. If using daily disposable lenses, discard the lens.
Step 7 : Repeat for other eye.
Rigid contact lenses, a category made up of rigid gas permeable, hybrid and scleral lenses, are inserted and removed using a different handling technique. Rigid contact lenses are used to treat vision problems related to the shape of the cornea or lens that can’t be corrected using soft lenses or spectacles.
Rigid contact lenses may start out as being be more uncomfortable initially than soft lenses, but as with all contact lenses, your eyes will acclimate to the lenses making them more comfortable over time.
What if My Lenses Start to Feel Uncomfortable?
After the initial period of possible discomfort, you most likely won’t feel your contact lenses to any significant degree unless they aren’t properly situated on your corneas, the lenses have dried out or your lenses aren’t clean.
If your eyes feel dry after inserting your contact lenses:
If your eyes feel dry after inserting your lenses you can easily hydrate your eyes and lenses with a few drops of contact lens specific hydrating eye drops (artificial tears).
If your contact lenses become stuck to your eyes or are difficult to remove, such as if you’ve accidentally slept with your contact lenses in instead of taking them out before bed, these hydrating eye drops should help you easily remove your lenses.
If your eyes feel scratchy or are uncomfortable after inserting your contact lenses:
If your eyes begin to feel itchy, scratched, or uncomfortable after inserting your lenses, do not rub your eyes. This may exacerbate the problem if there is some grit or dust on your lens irritating your eye or may damage the lens itself. Instead follow the steps below:
Step 1 : Wash and thoroughly dry your hands on a lint-free towel.
Step 2 : Remove the contact lens and thoroughly rinse it using your contact lens solution to remove any foreign bodies that may have irritated your eye.
Step 3 : After you have thoroughly rinsed the lens, carefully inspect the lens for any remaining grit or for any tears. If you find a tear or another structural problem with the lens such as a crease or irregular surface, discard the lens and get a new one. If your lenses can’t be disposed of, make an appointment with your optometrist to organise a replacement.
Step 4 : Once the lens is clean and you can’t see any defects with the lens, you can reinsert it. If your eye continues to hurt while the contact lens is out, or after the lens is re-inserted, book an appointment with your optometrist, as it may be a sign that your cornea has been scratched or you may have an eye infection.
If you have continued discomfort from your contact lenses, or would like to enquire about getting contact lenses, schedule an appointment to see an optometrist . The fastest and easiest way to search for and book healthcare appointments online is with MyHealth1st.